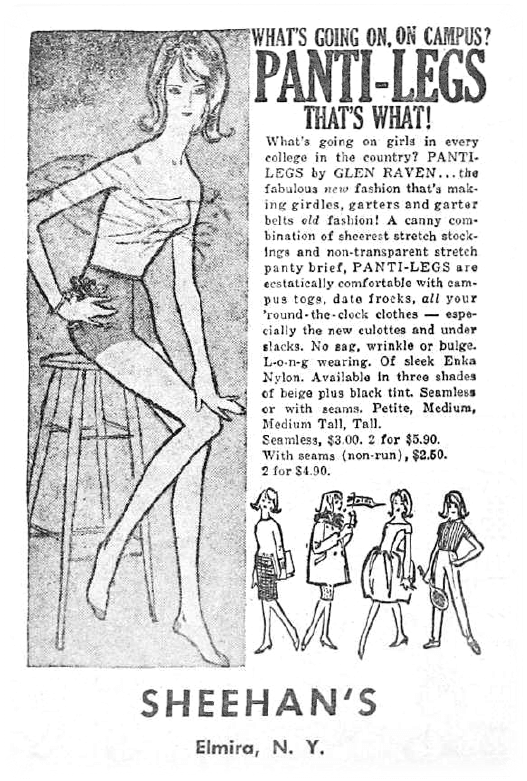
Pantyhose, also called tights in some countries, are common accessories for girls nowadays. The first pair of modern pantyhose were invented in 1959 by Allen Gant, a hosiery mill owner in North Carolina. The name was originally called Panti-Legs, a vivid description of how this new invention looked like.
Changes happened in pantyhose since its birth, such as name, raw material and of course, its trajectory. What remains no change is its basic construction. From this angle, how a pair of pantyhose is made nearly has no difference compared to the era of Allen Gant.
Production of pantyhose, no matter sheer or opaque, consists of 5 basic procedures: knitting, sewing, dyeing, boarding, and packing. None of these procedures are dispensable if we are referring to pantyhose with good quality. Let’s start discovering the manufacturing journey of pantyhose.
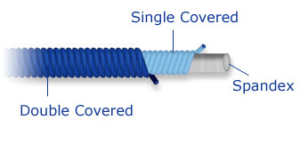
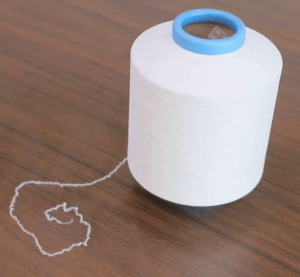
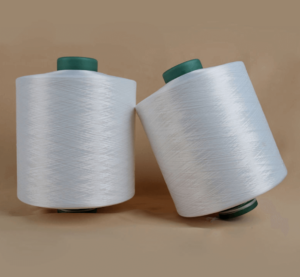
Knitting is the first procedure. It includes two basic elements: yarn and machine. Nowadays, the yarn used for pantyhose production is mainly covered yarn which means spandex yarn inside covered with nylon yarn outside. One spandex yarn covered with one nylon yarn is single covered yarn, SCY in short. One spandex covered with two nylons is double covered yarn, also known as DCY. Actually, it is hard to judge them by their look as they both are quite fine yarns. Single covered yarns are more popular while double covered yarn will be considered when durability is a high priority for one style.
The physical properties of spandex and nylon are influenced by temperature and humidity. Therefore, a good knitting room needs to be steady in the two areas. The temperature should be 25 degrees centigrade within a tolerance of 2 degrees and humidity of 50% within a 10% tolerance. When yarns are in, they need to be conditioned in knitting room for at least 24 hours before they are loaded to machine for knitting. This will let yarns gradually suit knitting environment. Without this step, yarns will be easily broken during feeding into machines. And it could also cause uneven fabric appearance issues etc.
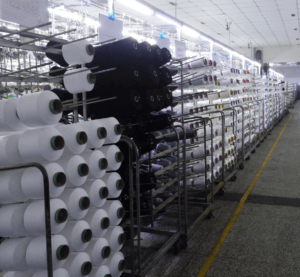
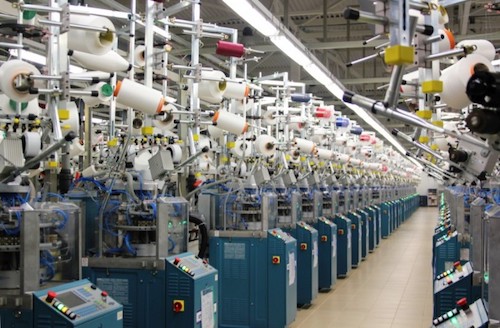
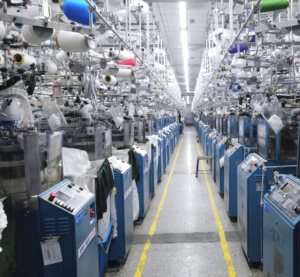
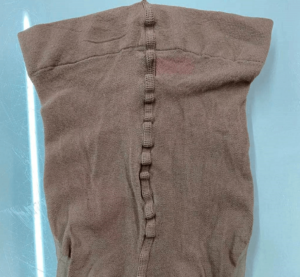
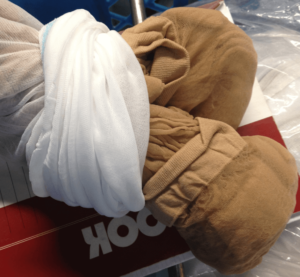
The knitting machine plays the role of turning yarns into greige tubes. Different from what they look like in the finished pantyhose stage, greiges come out of the machine in single legs with half panty connected to each of them. They are usually quite long and fragile after knitting.
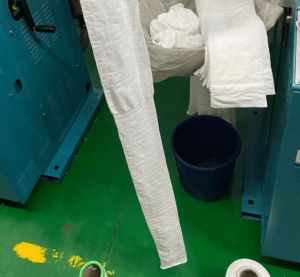
Preshrinking, also called an autoclave, is the cure for fragile legs. Basically, it is a steam setting machine in container shape. Greige legs are hung inside and steamed at 95 degrees centigrade for 20 minutes. As chemical fiber will shrink under heat, these legs turn out to be shorter and thus more durable. This will allow workers in subsequent procedures to easily handle legs without worrying about the fragility.

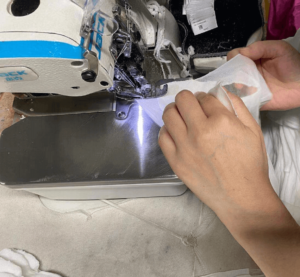
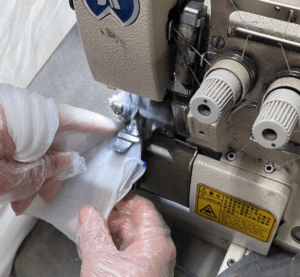
After autoclaving, legs will be moved to the next procedure: sewing. Sewing is general wording. It actually includes 3 different steps. The first one is panty cutting. As previously said, what we get from knitting is a single greige leg with half panty. Now it is time to cut a sewing line on the panty part, a necessary preparation for joining.

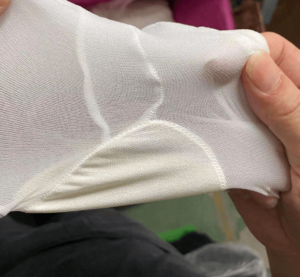
After panty cutting, we will move to panty joining. With joining the two panties, two separate legs become one pair. Overlock and flatlock are two main sewing ways. Although customers always see flatlock as a feature of sophisticated pantyhose, each of the two ways has its own advantage and disadvantage. Overlock is quite stretchy while not that flat. Flatlock, as its name suggests, feels quite flat while not that stretchy. It all depends on which feature the designer looks for.
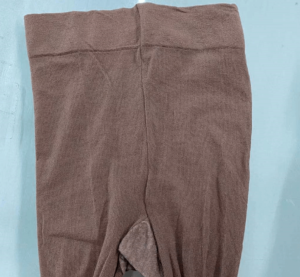
During the panty joining process, gusset, the main material of which is cotton, will also be sewn into the bottom of the panty area. Never look down upon the function of this little piece of fabric. Compared to nylon and spandex, cotton is able to bring more breathability to body needs. The secret of comfortable wearing is always hidden in a small bit of technical design like a gusset.
The third step is toe-closing. Unless it is a footless style, all pantyhose will need toe-closing. By finishing this, a greige pair of pantyhose is done.
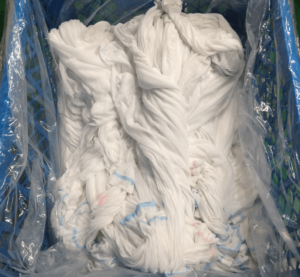
Before greige pantyhose move to dye, they will be put into net tubes for protection purposes. These net tubes are made of polypropylene fibers. Polypropylene fibers are so smooth that no snagging will be caused when they are in contact with the pantyhose surface. Meanwhile, due to the properties of polypropylene fibers, they won’t absorb any chemicals during the dyeing process, which will cause no influence on pantyhose dyeing.
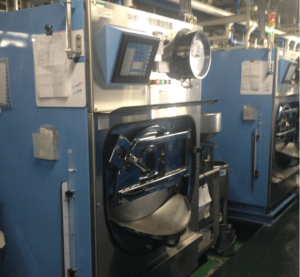
The dyeing procedure is where a chemical reaction happens. Light colors will need 6 hours and dark colors will be around 1-2 hours longer. A complete dyeing process usually consists of 4 main steps. The first one is washing. This is just like washing clothes. Cleaning chemicals are used to wash off the oil and stains on the greiges. The second part is dyeing. With the temperature increasing, dyes gradually transfer from water to greiges. The third step is fixation. By adding a fixation chemical, the absorbed dyes will stay on greiges and not come off easily. In professional words, that is good color fastness performance. Softening is the final step. This gives the product a soft touch hand feel. As a garment next to people’s skin in wearing, a soft hand feel is not only necessary but also indispensable. When all steps are finished, products will be taken out of the dyeing machine for hydro extracting. A humid condition after hydro extracting will be ideal due to boarding requests. Being too dry will cause snags and being too welt could create mildew issues.
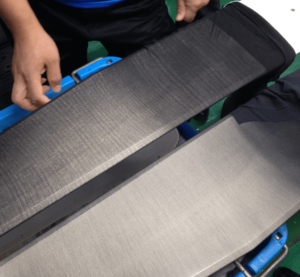
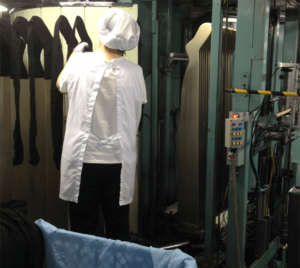
Boarding is for creating a good outward appearance. The boarding machine is pretty much similar to an autoclave machine. The only difference is dyed pantyhose are set in these metal boards and go through the heating room for a fixed shape. When it is done, garments are taken off from boards and sent to packing.
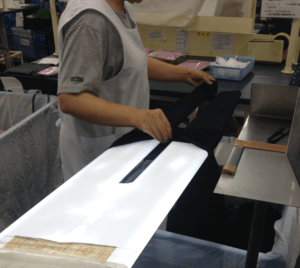
Packing also includes inspection. Each pair of pantyhose is stretched out on inspection boards for quality examination before being wrapped into packs. In this process, products with quality issues such as holes, snags, or stains will be picked out.
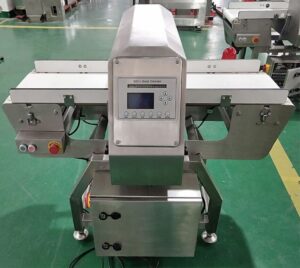
Last but not least, metal detection to packed products is essential. There should be no metal parts in the pantyhose as it contacts skin every day. The solution is the metal detection process. A metal detection machine will raise the alarm when products go through the machine and metal parts are detected so it is very important to make sure the machine is calibrated regularly on sensitivity.
The manufacturing journey of pantyhose comes to end. Looks simple? Not really. Some people say a pair of pantyhose equals a piece of artwork. From a delicate operation point of view, that is indeed no exaggeration!